


Market Spotter indicators are compatible with TradingView, a widely-used charting and technical analysis platform.
Upon completing this concise guide, you will be able to create a TradingView account at no cost, configure the Market Spotter indicators on your chart, adjust the chart timeframe and candle type, and add alerts to the indicator signals, thereby ensuring that no trade opportunities are missed.
When subscribing to Market Spotter, please provide your TradingView username, which is required to grant your account access to our indicators. To locate your username, access the TradingView homepage and search for an icon resembling the one below:
If you have subscribed to Market Spotter or have been granted a free trial, please follow these instructions to access the Market Spotter indicators.
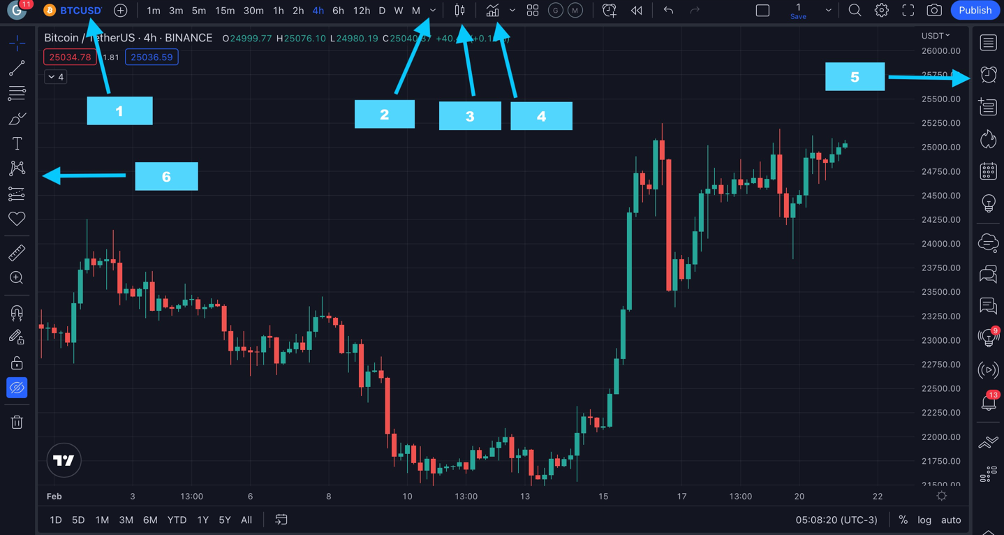
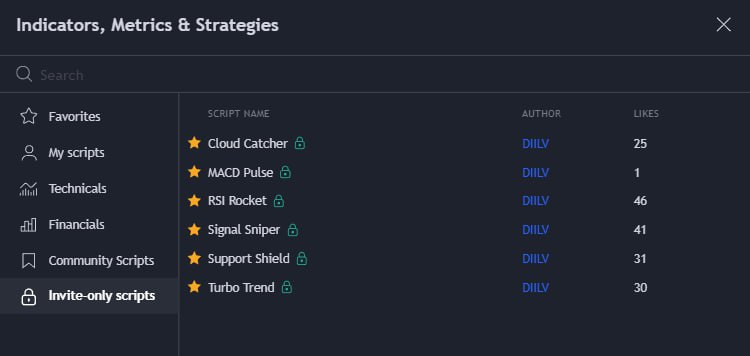
First, select “Indicators” (see number 4 in the image above). The following menu will be displayed:
From the available options, select the last one, which is labeled “Invite-only scripts”. You will then be able to view all the indicators provided by Market Spotter. To add them to your chart, simply click on each indicator individually.
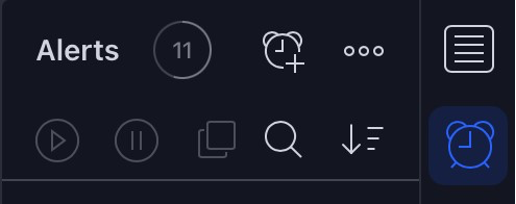
1. Locate and click on the “Alarm Clock” icon located in the right-hand menu (see number 5 in the image above).
2. Click on the “Alarm Clock” icon with the “+” sign to create a new alert.
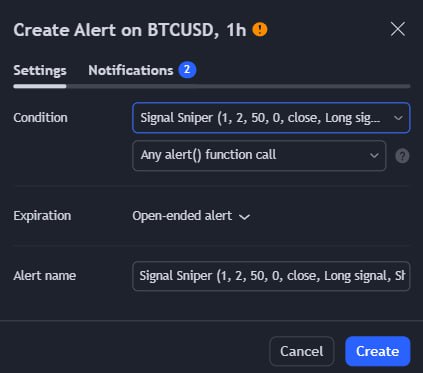
3. In the “Condition” section, select the Market Spotter indicator that you wish to set the alert on. The preset “Any alert() function call” should be left unchanged.
4. Choose the expiration date for your alert under the “Expiration” section.
5. Click on the “Create” button to activate your alert.
We trust that this guide has provided you with a comprehensive understanding of the fundamental features of TradingView. If you require any further assistance, please do not hesitate to contact us via email at help@marketspotter.io